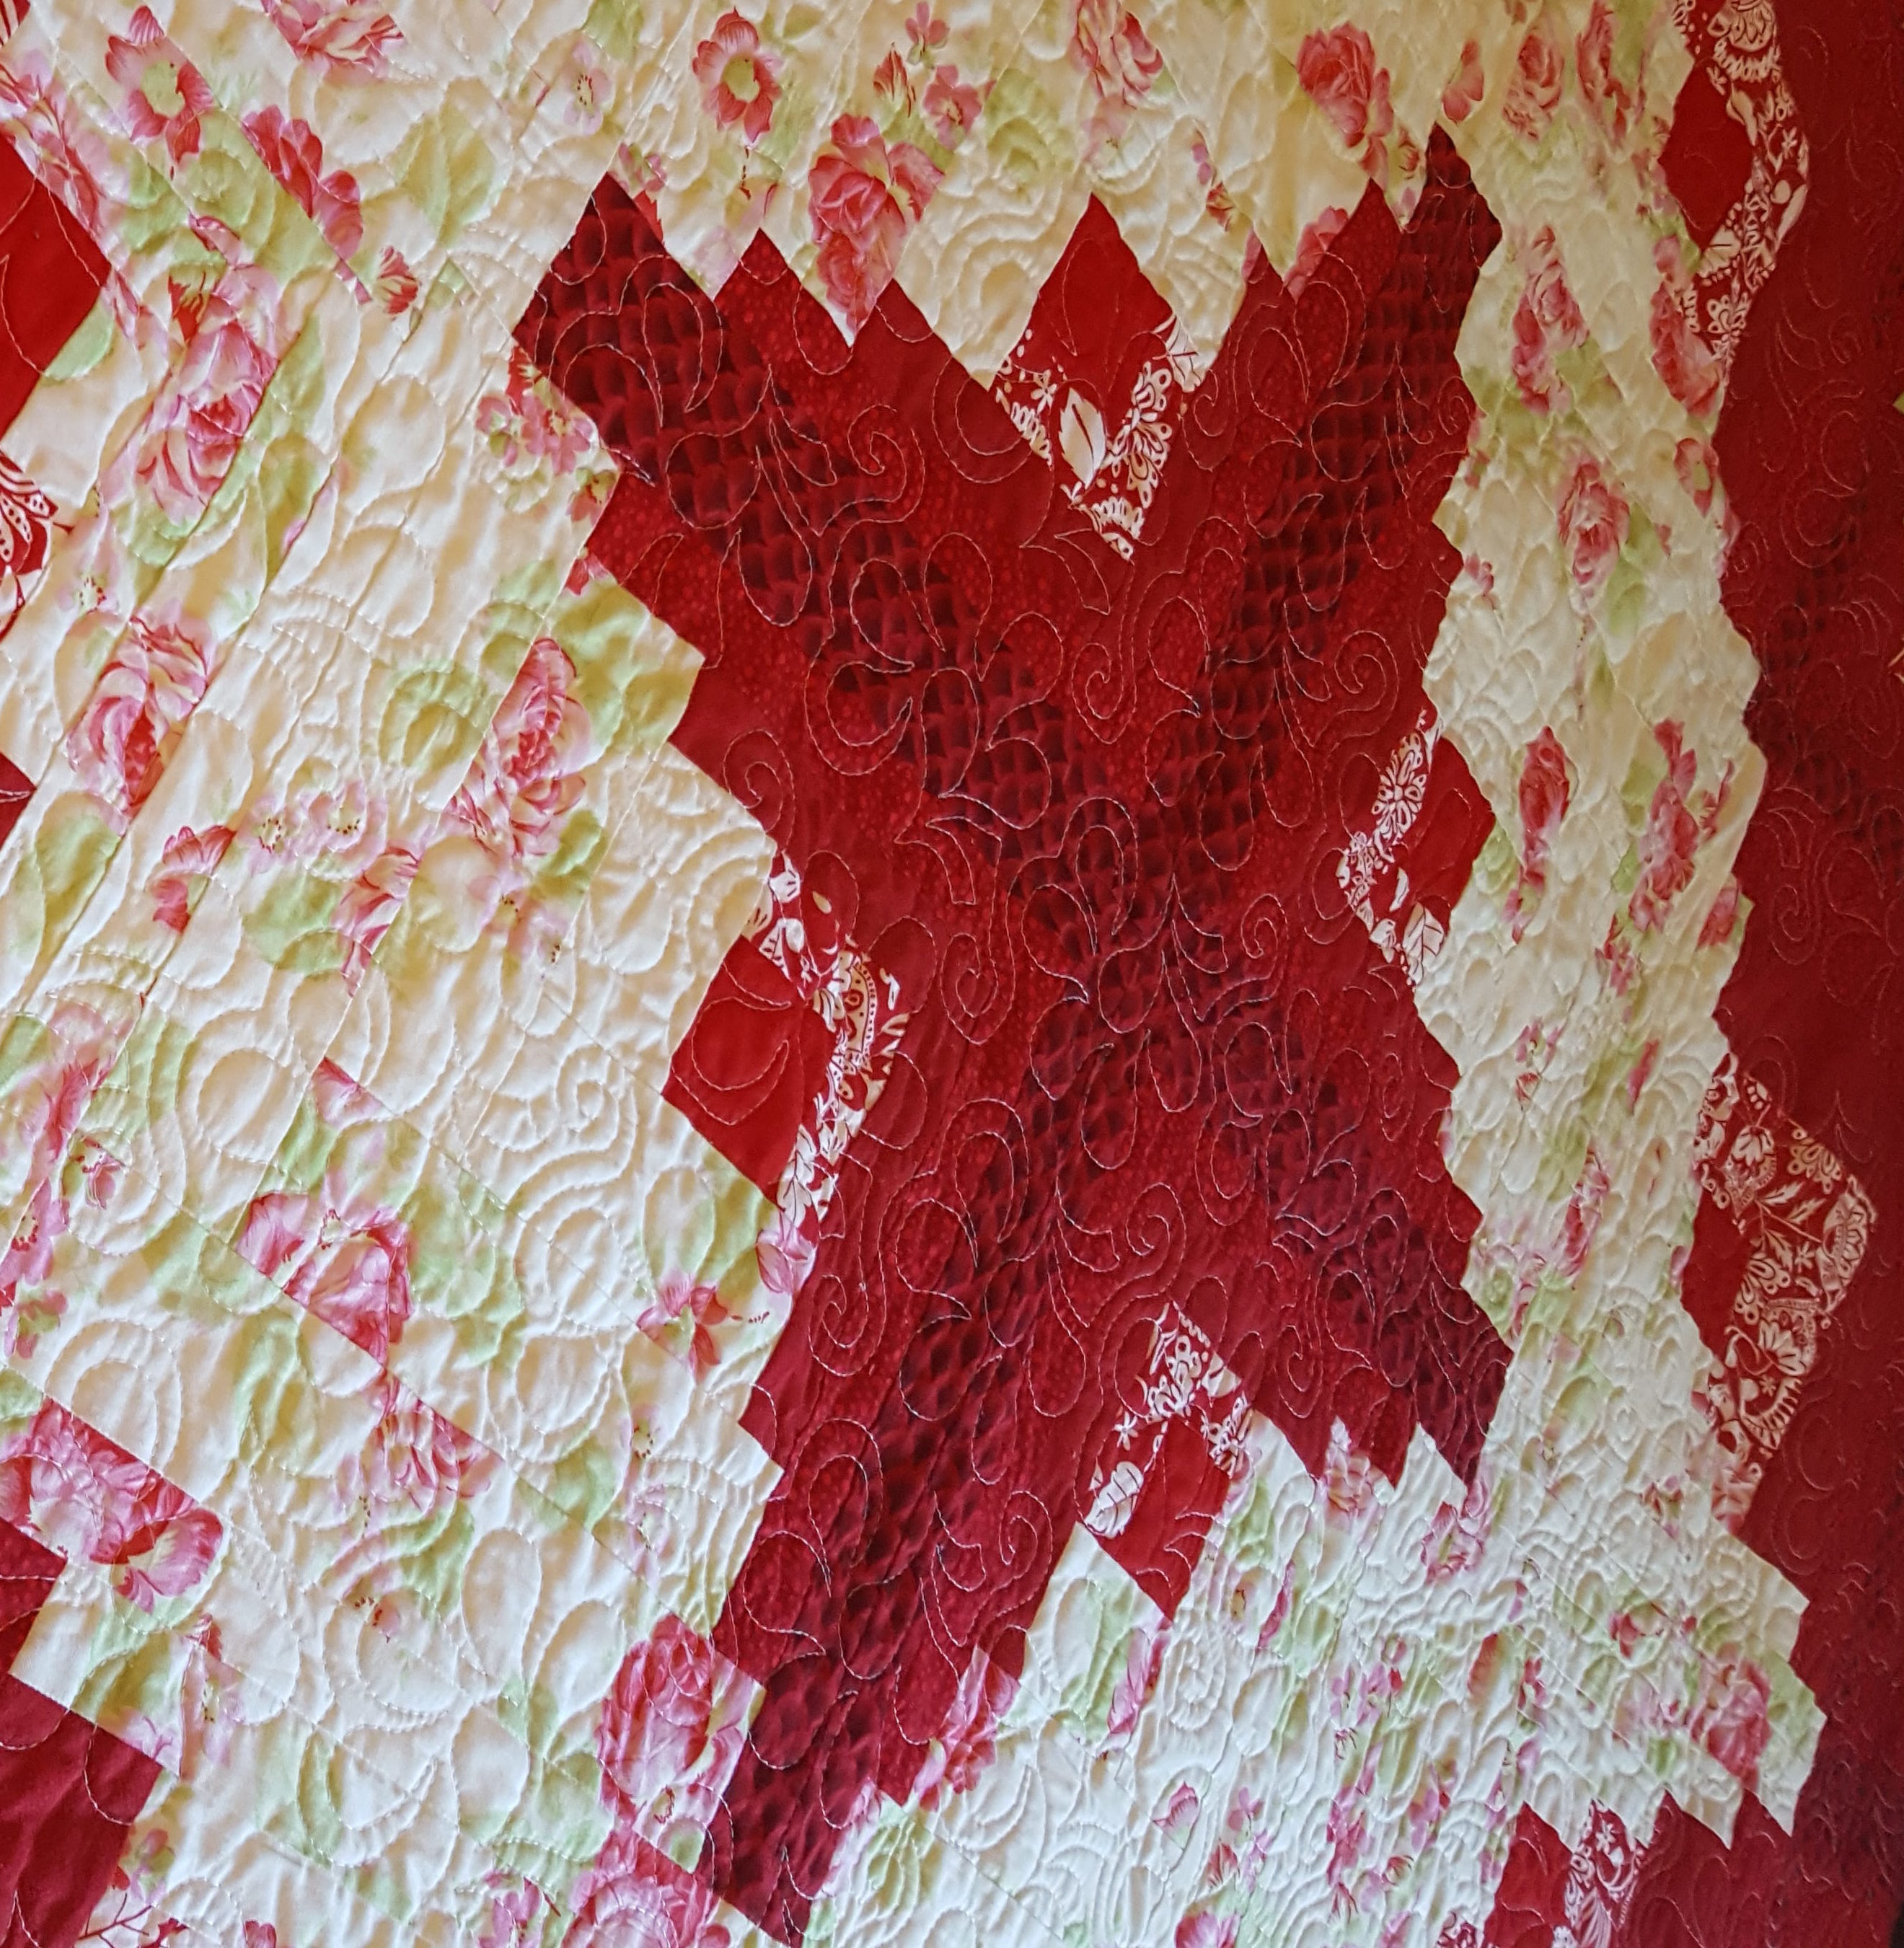
[wc_heading type=”h1″ title=”The Log Cabin Anniversary Quilt finished – I love it!” margin_top=”” margin_bottom=”” text_align=”left” font_size=”” color=”” class=”” icon_left=”” icon_right=”” icon_spacing=””]
[wc_row][wc_column size=”two-third” position=”first”]
If you are like me you couldn’t wait to see the Log Cabin anniversary quilt finished! This one took quite a while, but just because of its size. I really enjoyed working on this curved log cabin block. The strips themselves were either 1.5″ or 2.5″ depending on which side of the square they were on. I worked on several blocks at a time so that I could chain piece and move through quickly without getting too bored.
[/wc_column][wc_column size=”one-third” position=”last”]
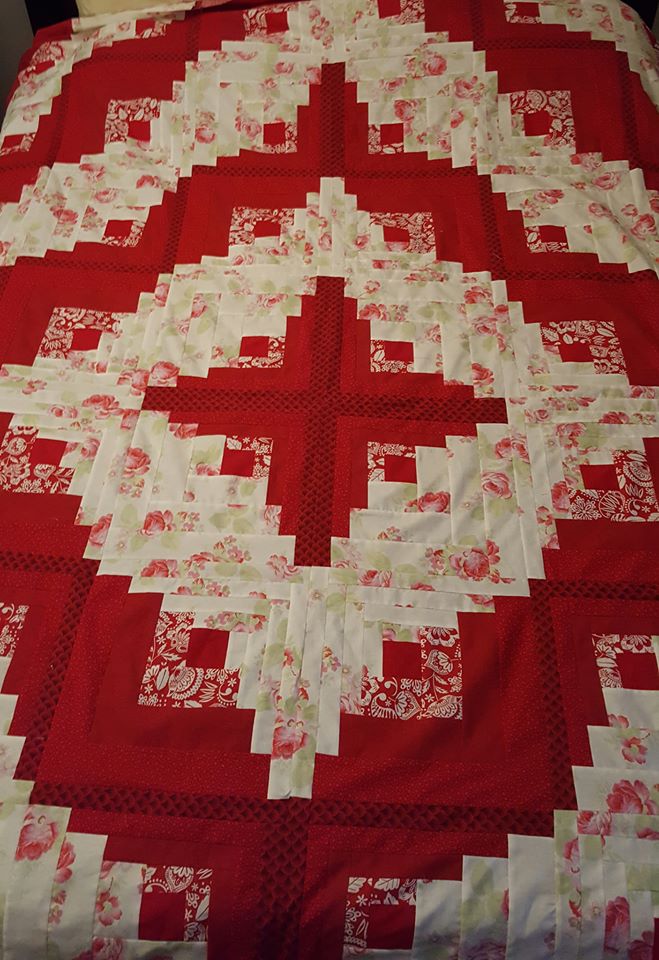
[/wc_column][/wc_row]
Once the blocks were all laid out and put together it was on to the quilting! I decided an all over design that was kinda flowery and curvy to break up all the straight lines of the blocks. I think it worked out pretty well. A little modern, but still enough traditional to compliment the quilt pattern.
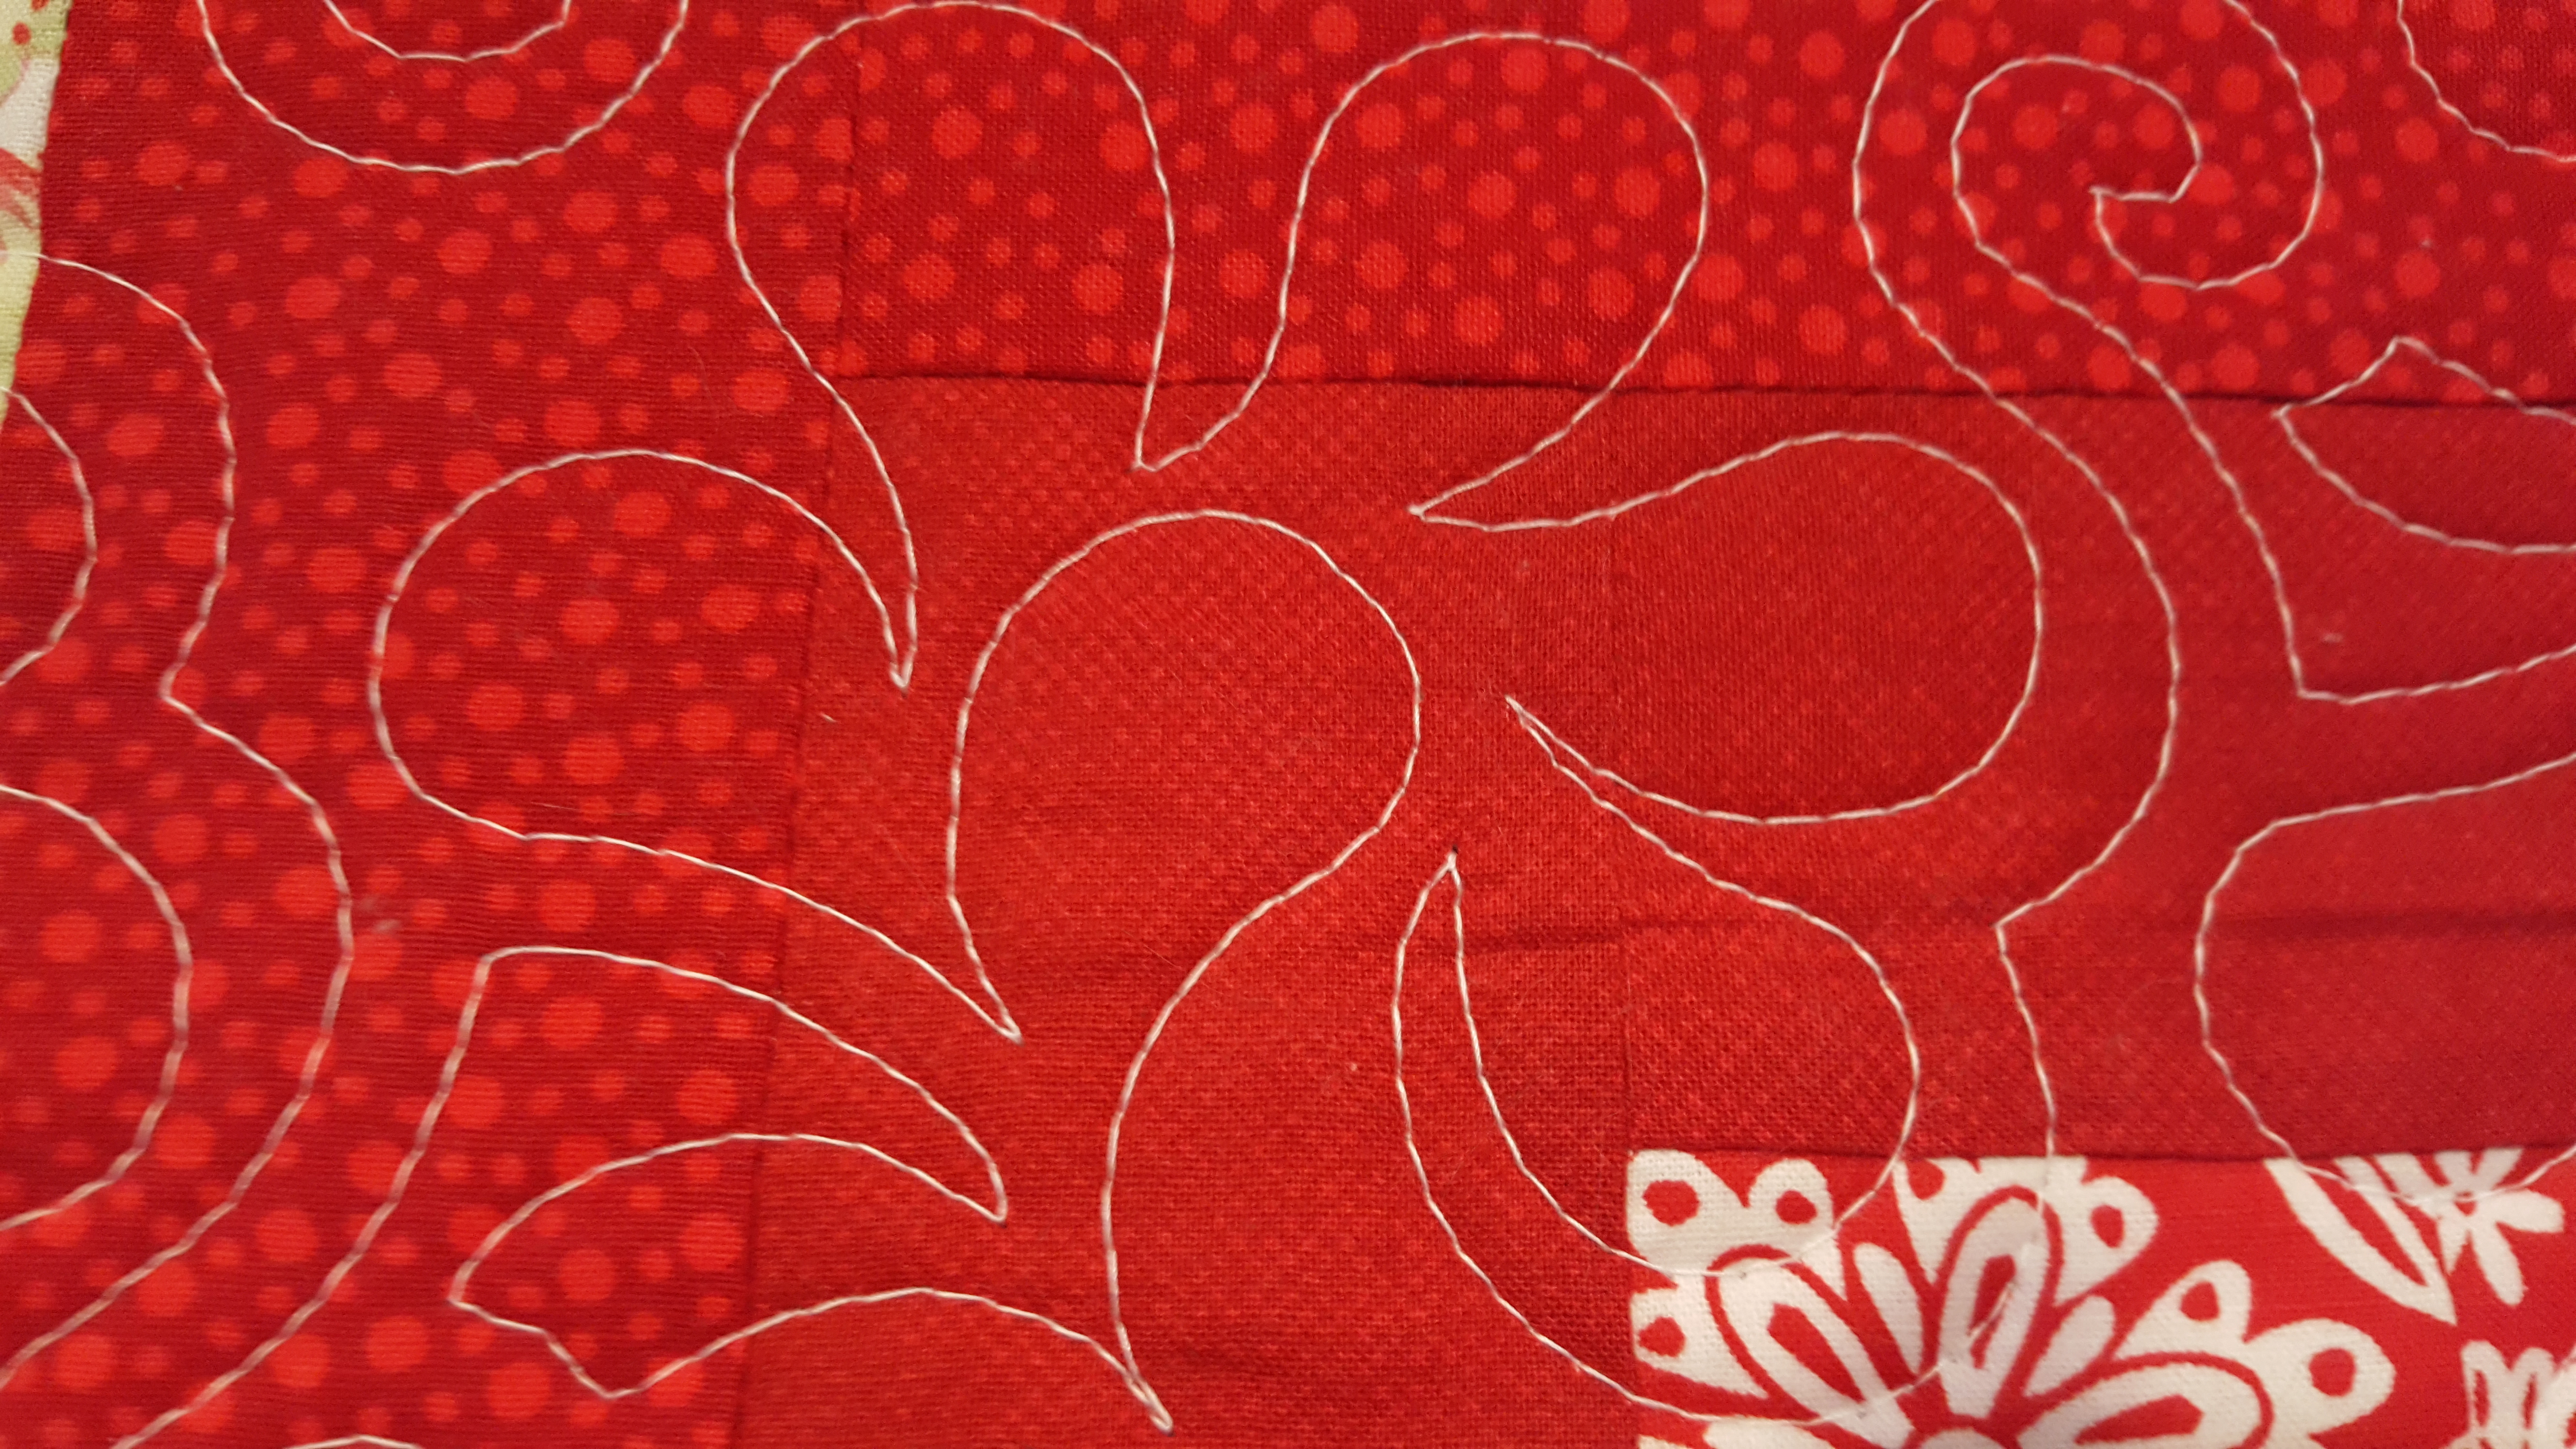
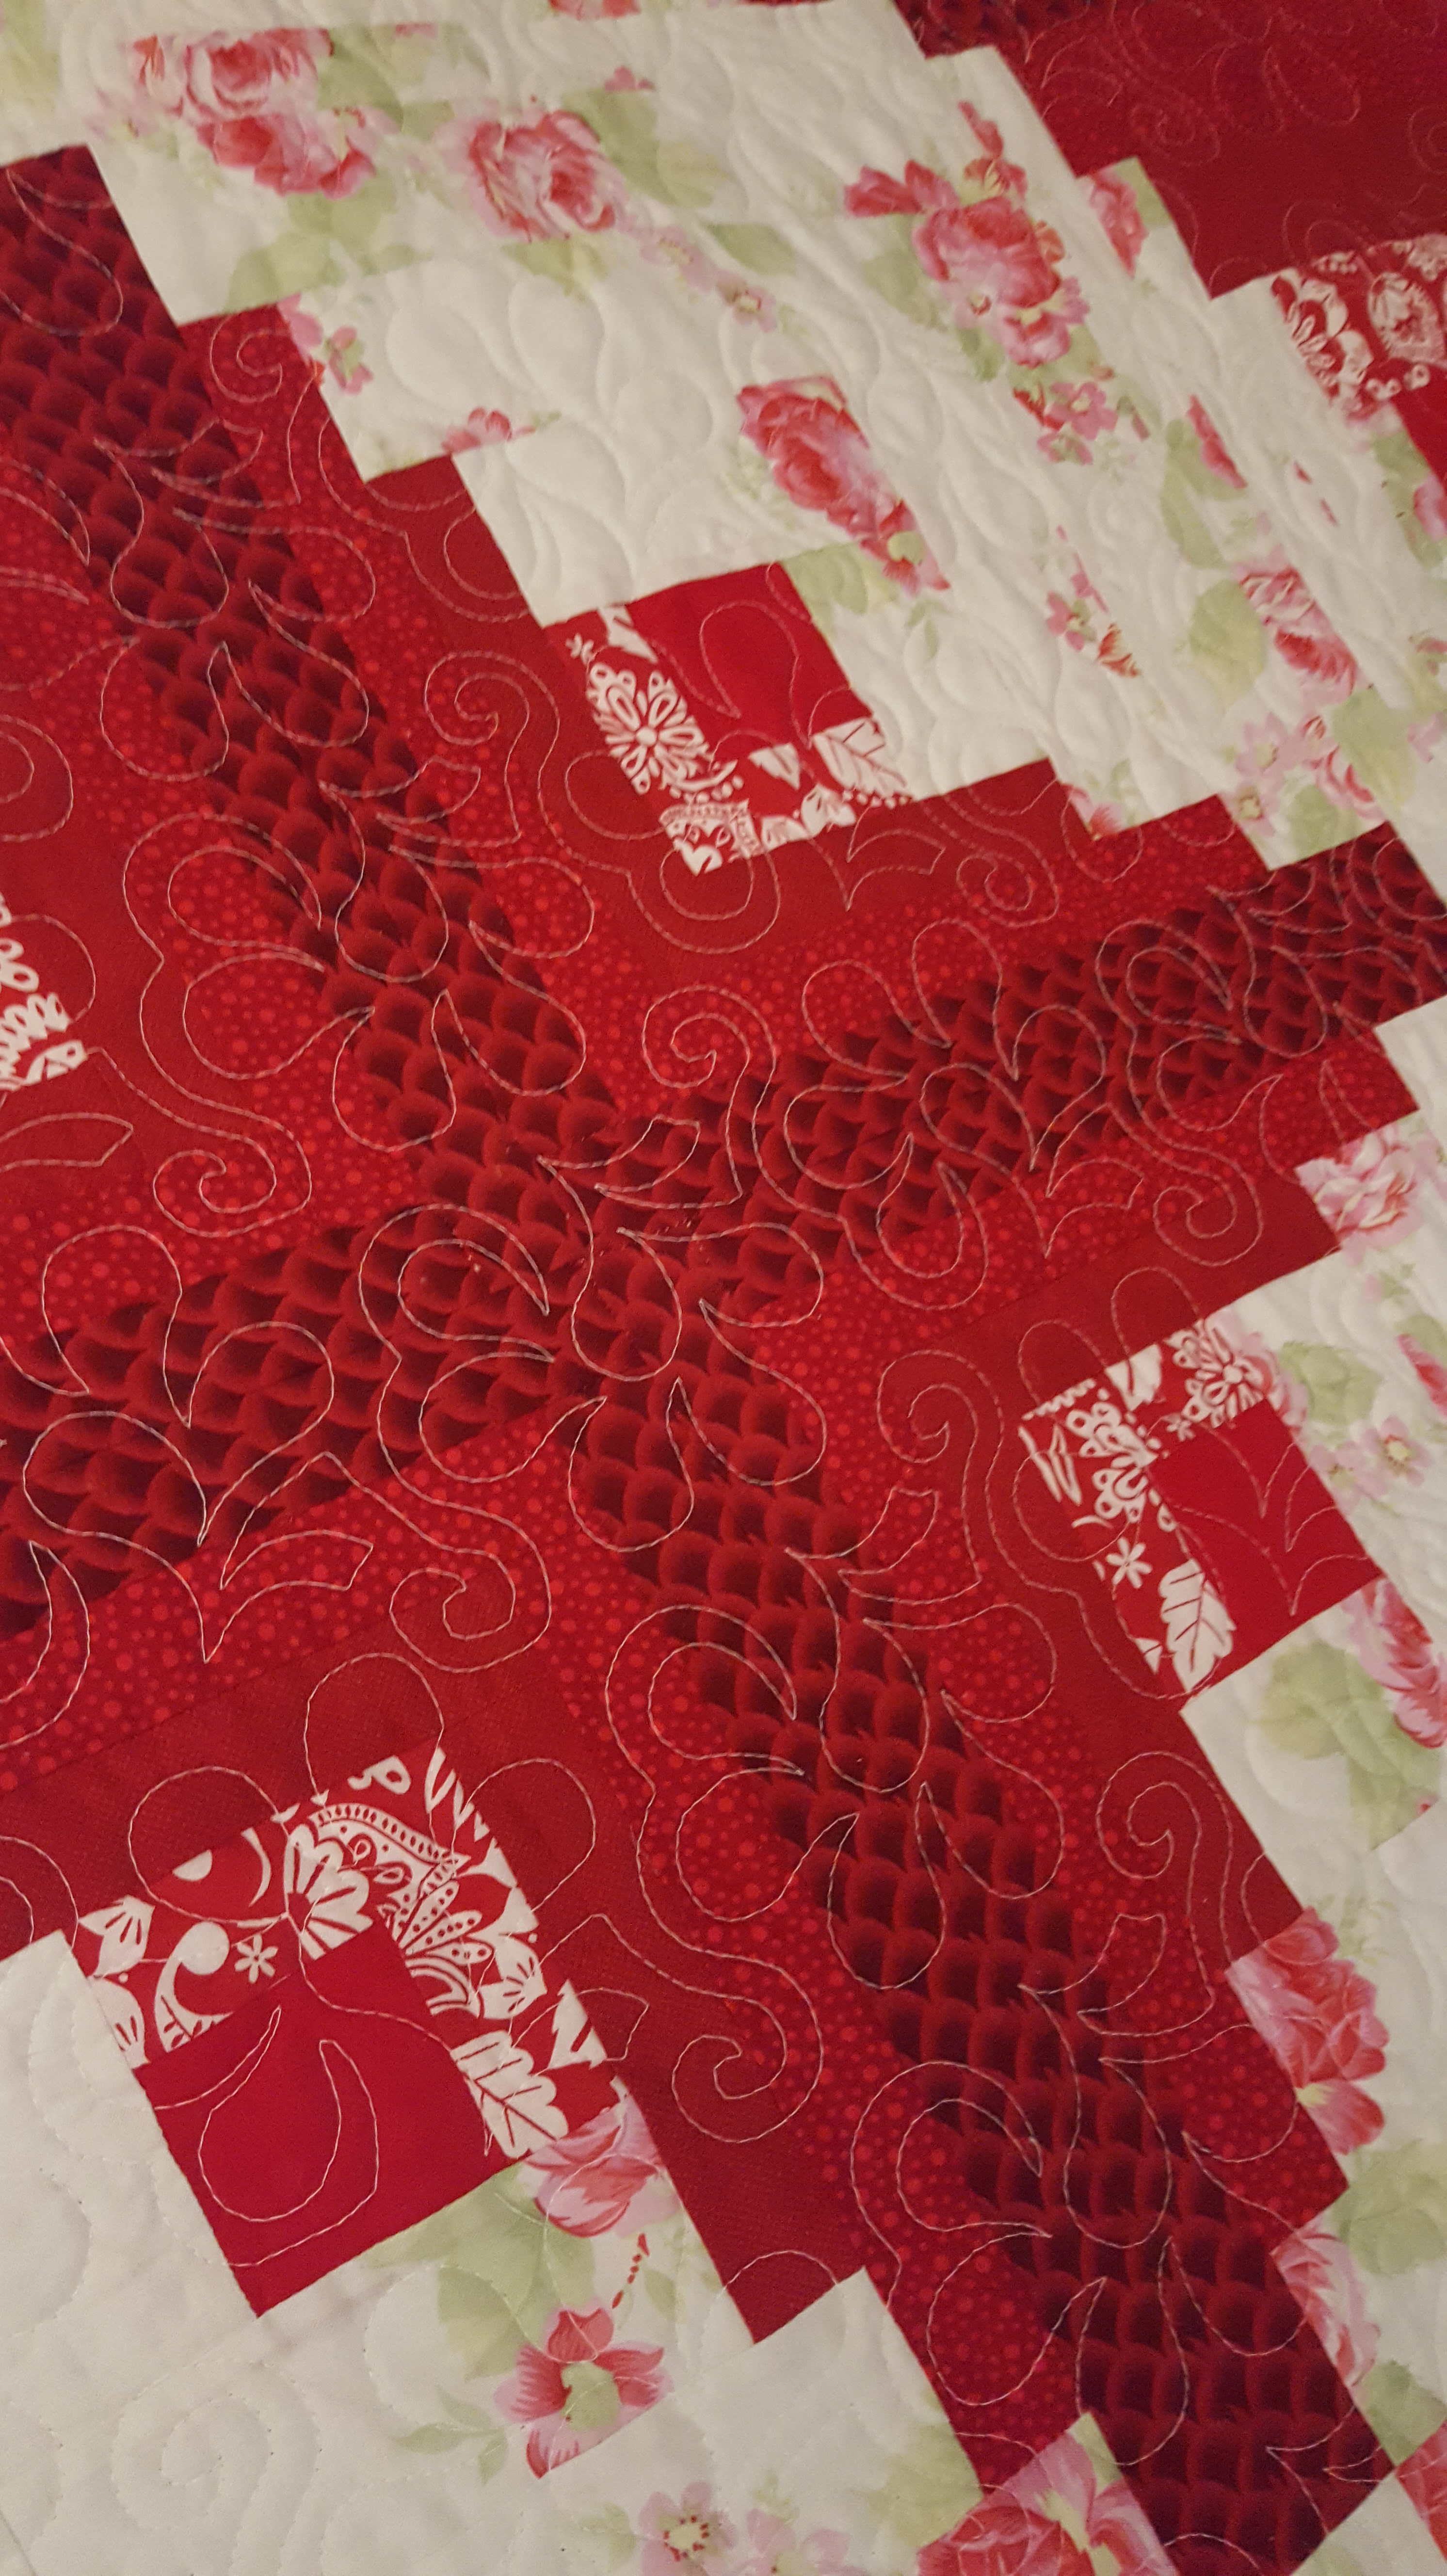
Trimming and binding on this King size quilt was a King sized job, too! There is a lot of weight to this and finding a space large enough to trim a good section is not easy. I spent a lot of time rearranging to cut a small section and then rearrange again. Sewing the binding on is the same story. All the weight has to be supported so it doesn’t pull through the machine. I have a large folding table to try to help distribute the weight.
One of my favorite parts of finishing the quilt is the hand stitching on the binding. I can do this just about anywhere, so its a nice change from standing at the frame to work. I love getting to the end of a side and finishing up that corner!
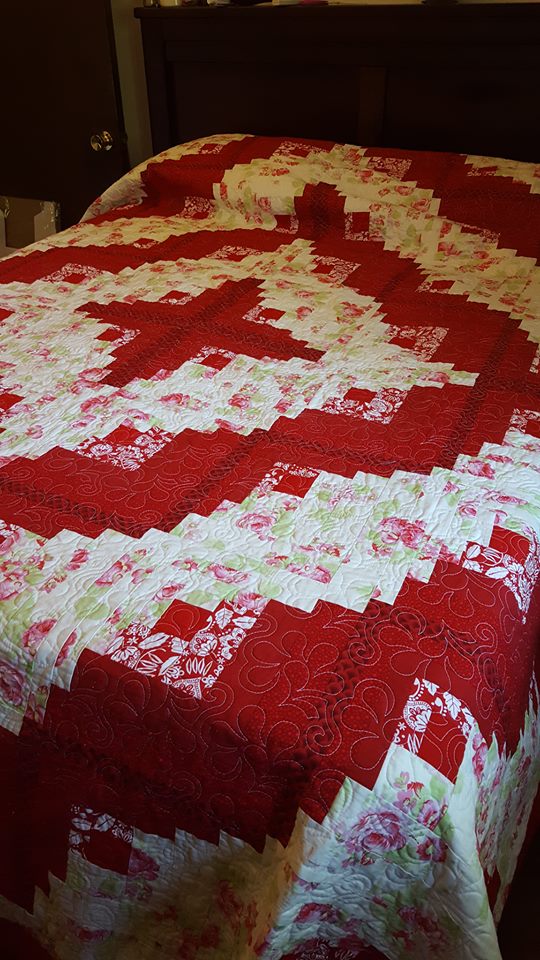

Here are some of the final pictures! Keep in mind that it is a King size quilt shown on a Queen bed. I hope you enjoyed it! Have any of you tried this pattern? I would love to hear from you in the comments or see any photos of your quilts!

